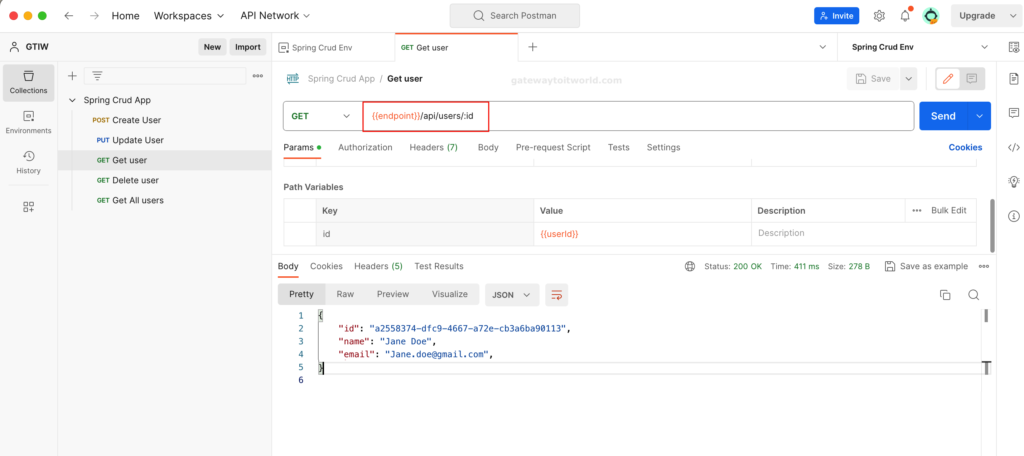
As a Backend developer many times we have used Postman but most of the time we do not use the environmental variables and have to change the variables repeatedly to execute APIs. In this post, we are going to see how we can use the Postman features efficiently
Prerequisites
To get started you must have the Postman installed on your machine. Any application having working APIs. In this post, I will use the application that I have already created Springboot (Crud for user management). It exposes CRUD endpoints to perform user operations.
Download and install Postman.
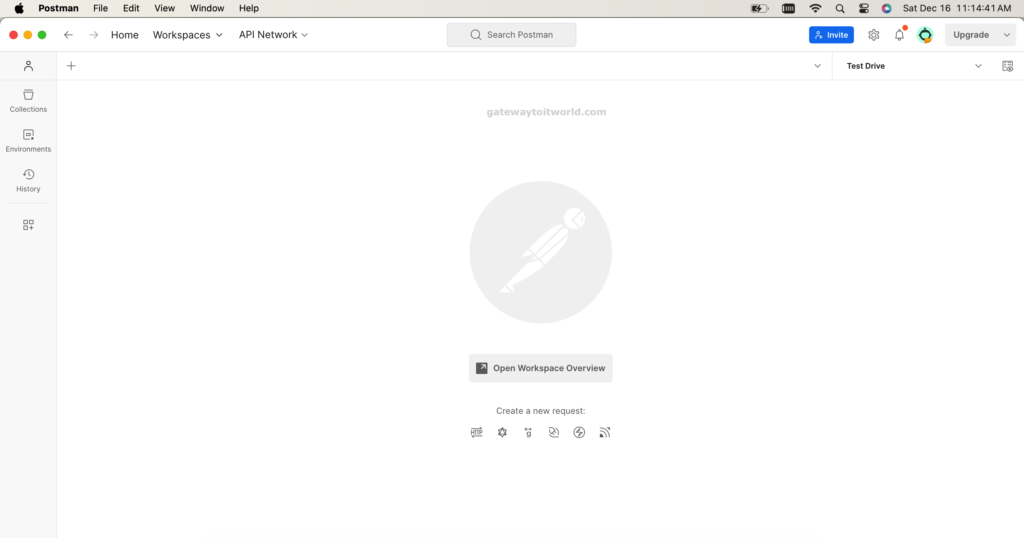
If you don’t have the Postman installed on your machine then download the Postman from the official Postman website and install. After installation, you need to sign in to the Postman. You will see the screen below:
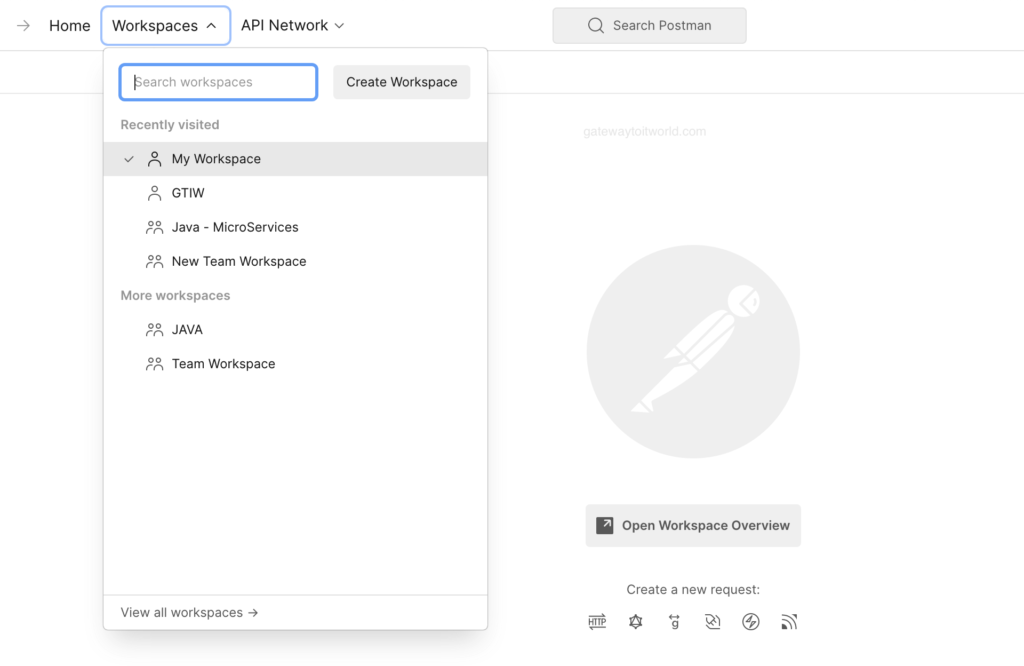
Create workspace
To create a workspace, click on the ‘Workspaces’ menu type in the name you want to give to the workspace and click the ‘Create Workspace’ button
Create a New Postman Collection
Click on the ‘New’ button from the left panel. You will see the popup window select the Collection icon and provide the name of the collection.
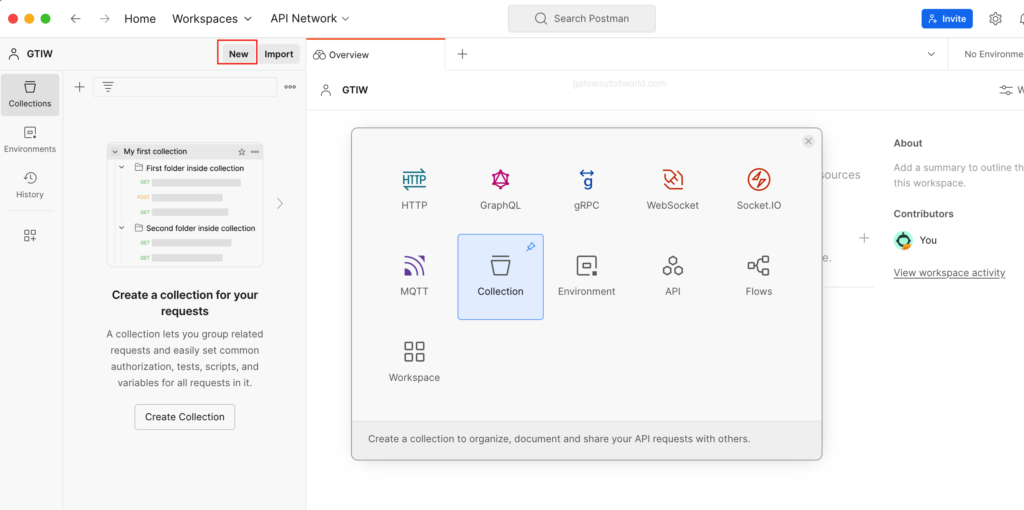
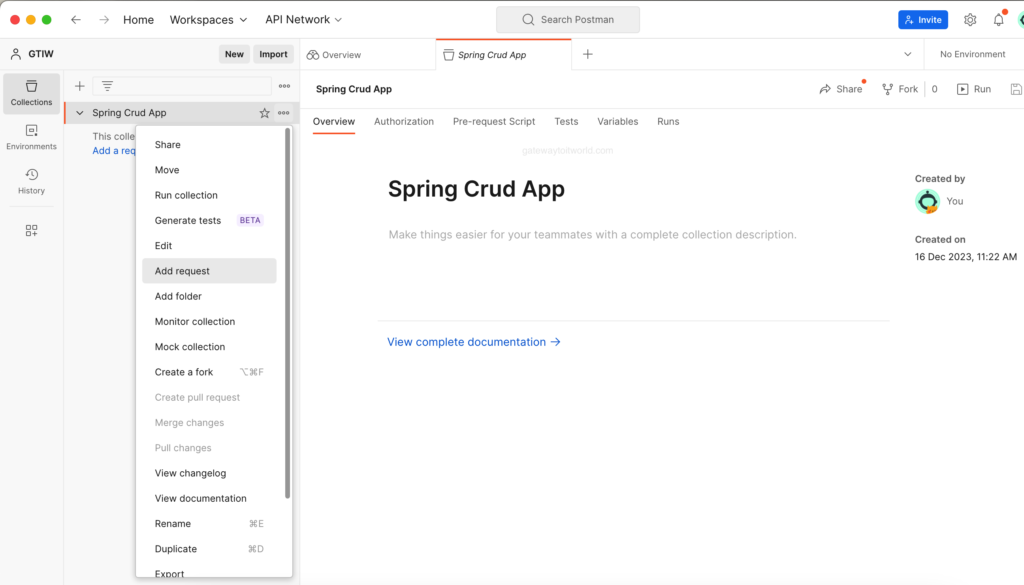
Give a name to the Collection. Now you have successfully created the Collection. Add the requests for your application by right-clicking on the collection as shown.
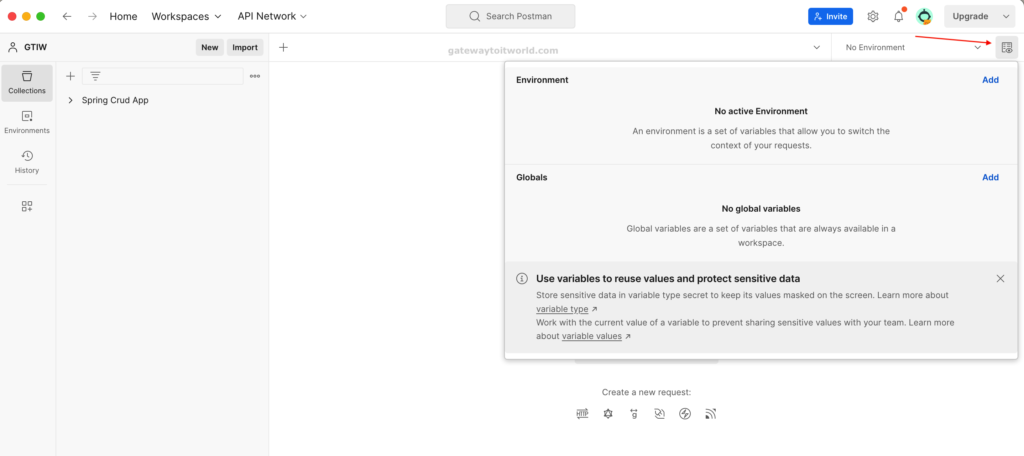
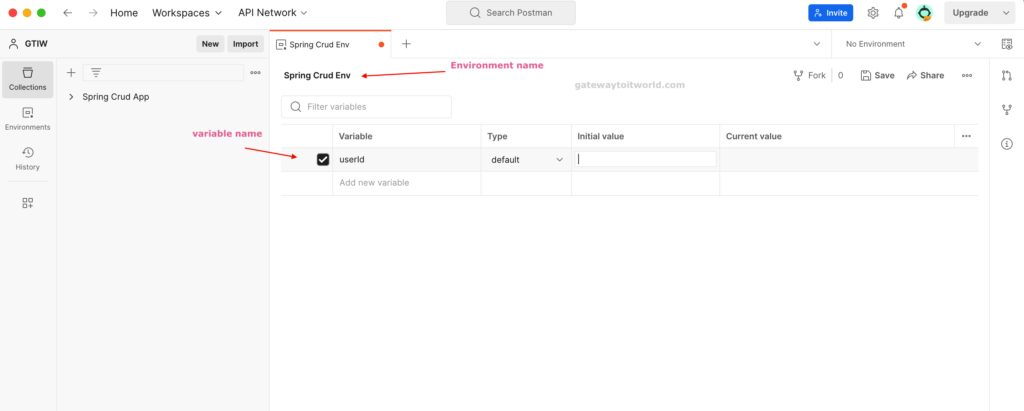
Setup environment
Postman API script
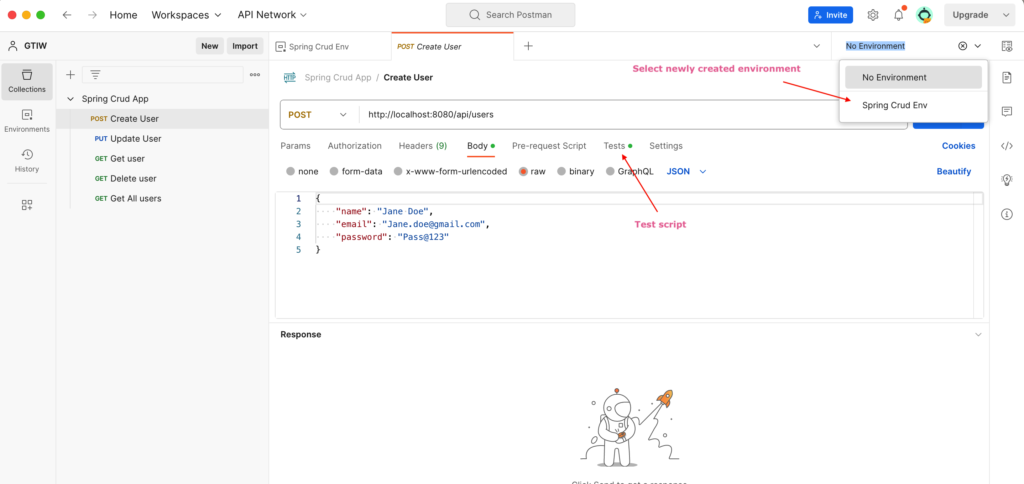
Here is how you can write the test script so that the ‘id’ generated in the create API can be used in subsequent APIs.
Suppose you have a response in the following format
{
    "id": "a2558374-dfc9-4667-a72e-cb3a6ba90113",
    "name": "Jane Doe",
    "email": "Jane.doe@gmail.com",
    "password": "Pass@123"
}
Then you should write the code below to automatically save the id field into the environment variable ‘userId’.
// Parse the JSON response
var jsonData = pm.response.json();

// Extract the 'id' from the response
var id = jsonData.id;

// Save the 'id' to an environment variable "userId"
pm.environment.set("userId", id);
Here is the actual API execution from Postman using above script
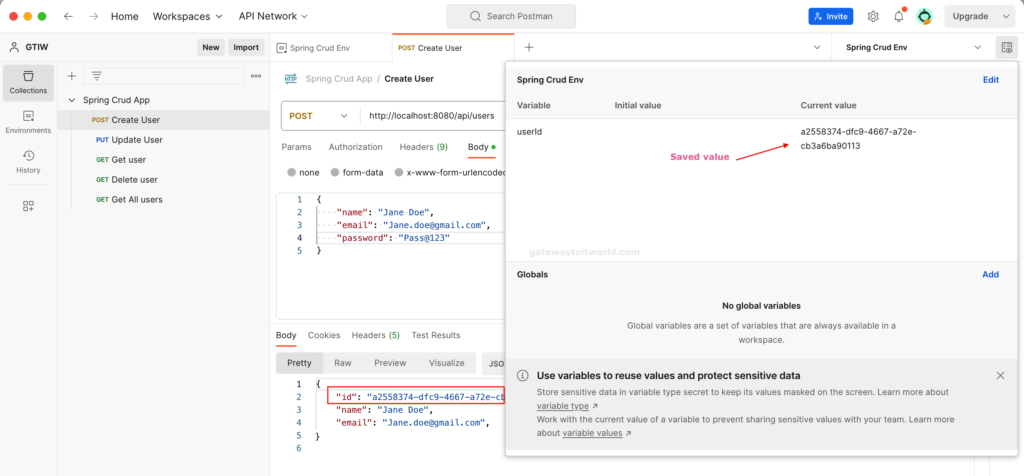
Above code change if you have different. Let’s take another response example, suppose your response is nested as follows
{
    "status": "OK",
    "message": "Request successful",
    "data": {
        "id": "a2558374-dfc9-4667-a72e-cb3a6ba90113",
        "name": "Jane Doe",
        "email": "Jane.doe@gmail.com"
    }
}
Then your script will change be change for extracting the ‘id’ field value
// Parse the JSON response
var jsonData = pm.response.json();

// Extract the 'id' from the response (here id is extracted from nested 'data' object)
var id = jsonData.data.id;

// Save the 'id' to an environment variable "userId"
pm.environment.set("userId", id);
Environmental variables use
We use different environments like development, staging, and production to deploy applications for use and each environment has different URL endpoints which should be added in Postman URL place. If we want to test any API in multiple environments then it is a repeated and time-consuming task. The solution for this is to create multiple environments.
To create a new environment, click on the “New” button from the top left. then select the Environment icon and give a new name to the environment.
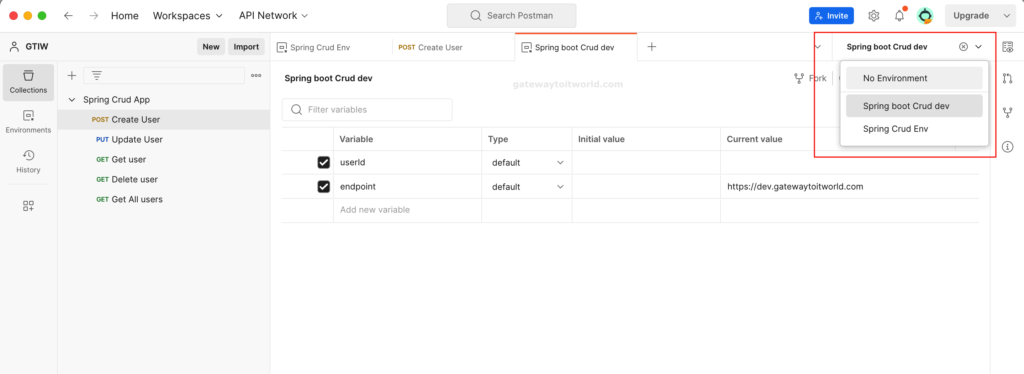
As we added the endpoint variable in the environment, we can change the postman URL to {{endpoint}} as shown for the get API
