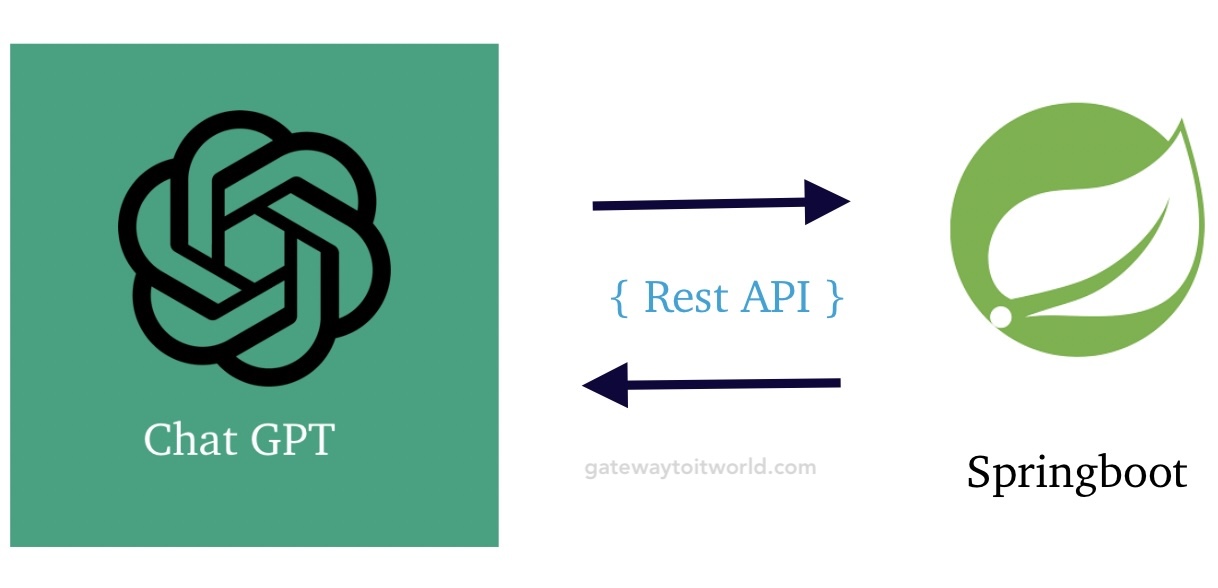
In this post, you will learn to integrate ChatGPT API using Springboot. The goal is to provide end-to-end steps to complete the integration of the ChatGPT API using Springboot. If you are reading this post I assume that you already know what is ChatGPT and what is Springboot.
Prerequisites
To get started with the integration, you’ll need the following items. The sections below provide instructions on how to proceed.
- Chat GPT developer account
- Springboot app running on your machine
How to create an account on Chat GPT developer account
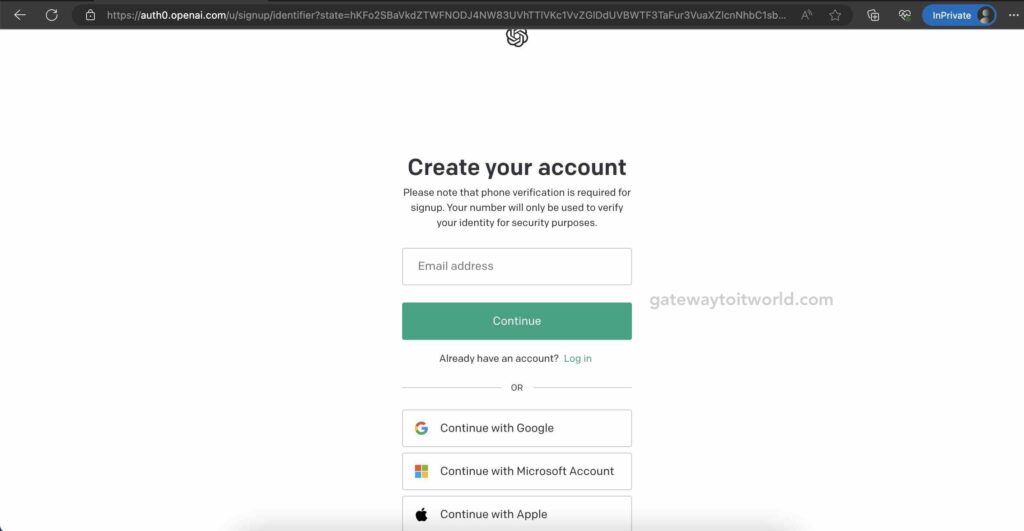
To open an account on Chat GPT go to ChatGPT Developer Portal by using your email ID and basic details or simply using the Google/Microsoft/Apple login by clicking on the options given on the signup page.

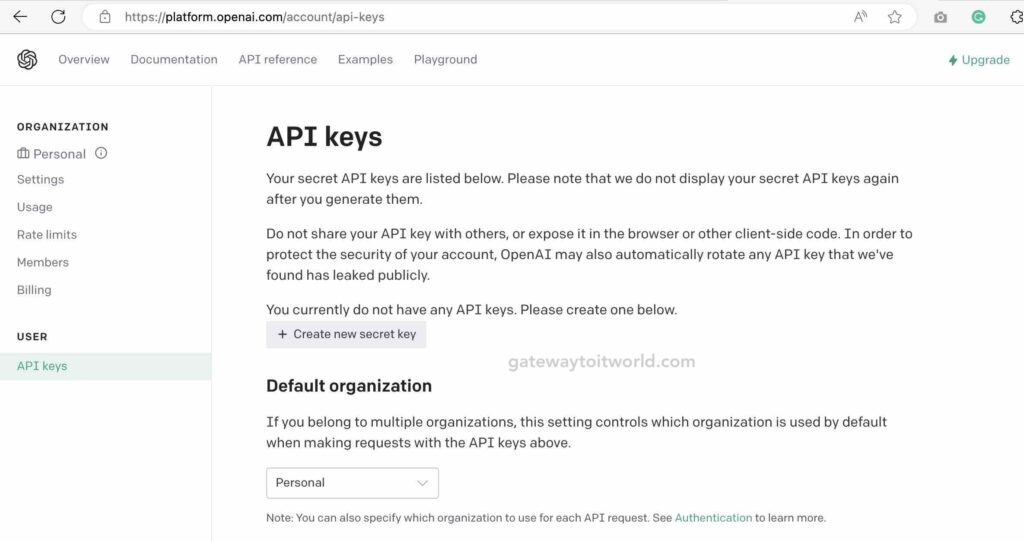
After opening the account you can create a new secret key by opening this URL Get ChatGPT Secret Key.

Click on the Create new Secret key button to create the key. Give a name to the key for eg. my-chat-gpt-key. Keep this secret key in a secure place as it is required for the API integration in the later stage.
How to create a sample Springboot App
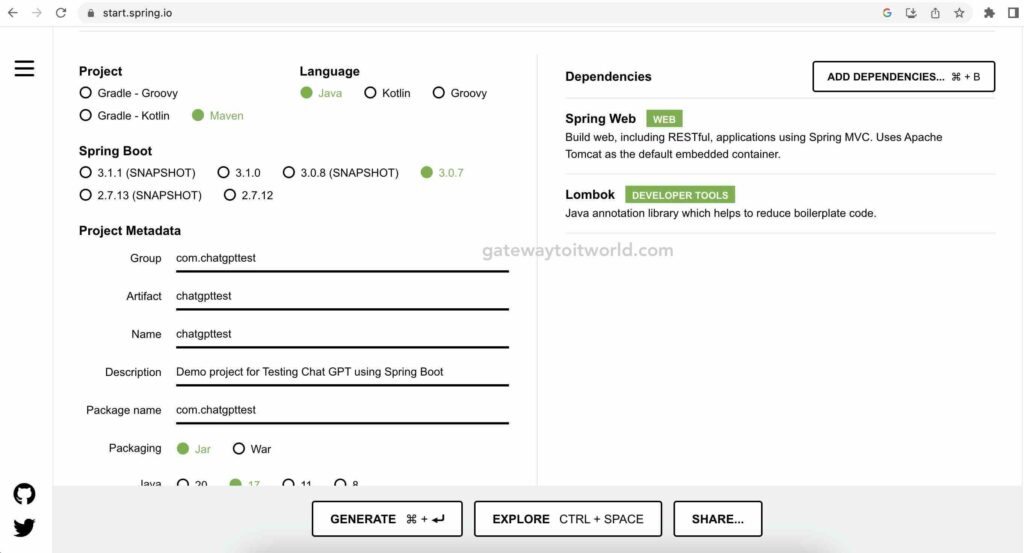
To create a sample application go to Springboot Starter and select options as shown in the below image

To add dependencies you can click on the right-side Add Dependencies button. We need to add two dependencies for this chatGPT integration below are the details for these dependencies:
- Spring Web – This dependency will help you build RESTful APIs and have a Tomcat server embedded to host the server.
- Lombok – This dependency will help reduce the boilerplate code.
After the above configuration, click on the GENERATE button. This will download the zip file. Unzip the file you will get the folder containing the spring boot starter code. Now we are ready with the basic setup for our Springboot app. Now we need code for ChatGPT API integration.
How to create an application endpoint API endpoint for the ChatGPT
To write the API endpoints and code integrations follow the below steps:
Step 1: Create a controller
Create a folder with name controllers inside src/main/java/com/chatgpttest/ and then inside it create a controller file with the name ChatGPTController.java.
File: src/main/java/com/chatgpttest/controllers/ChatGPTController.java
package com.chatgpttest.controllers;

import org.springframework.beans.factory.annotation.Autowired;
import org.springframework.web.bind.annotation.GetMapping;
import org.springframework.web.bind.annotation.RequestParam;
import org.springframework.web.bind.annotation.RestController;

import com.chatgpttest.service.ChatGPTService;

@RestController
public class ChatGPTController {

    @Autowired
    private ChatGPTService chatGPTService;

    @GetMapping("/chat-with-chat-gpt")
    public String chat(@RequestParam String prompt) {
        try {
            return chatGPTService.generateChatResponse(prompt);
        } catch (Exception e) {
            return e.getMessage();
        }
    }
}
Step 2: Create a Service
Create a folder with name services inside src/main/java/com/chatgpttest/ and then inside it create a service file with the name ChatGPTService.java.
File: src/main/java/com/chatgpttest/services/ChatGPTService.java
package com.chatgpttest.services;

import java.util.ArrayList;
import java.util.List;
import java.util.Objects;

import org.springframework.beans.factory.annotation.Value;
import org.springframework.http.HttpEntity;
import org.springframework.http.HttpHeaders;
import org.springframework.http.HttpMethod;
import org.springframework.http.HttpStatus;
import org.springframework.http.MediaType;
import org.springframework.http.ResponseEntity;
import org.springframework.stereotype.Service;
import org.springframework.web.client.RestTemplate;

import com.chatgpttest.models.ChatGPTMessageDto;
import com.chatgpttest.models.ChatGPTRequestDto;
import com.chatgpttest.models.ChatGPTResponseDto;

@Service
public class ChatGPTService {

    @Value("${chatgpt.apiKey}")
    private String apiKey;

    @Value("${chatgpt.endpoint}")
    private String endpoint;

    @Value("${chatgpt.model}")
    private String model;

    private RestTemplate restTemplate = new RestTemplate();

    public String fetchChatResponse(String message) {
        HttpHeaders headers = new HttpHeaders();
        headers.setContentType(MediaType.APPLICATION_JSON);
        headers.setBearerAuth(apiKey);

        List<ChatGPTMessageDto> messages = new ArrayList<>();
        messages.add(new ChatGPTMessageDto("user", message));

        ChatGPTRequestDto request = new ChatGPTRequestDto(messages, model);

        HttpEntity<ChatGPTRequestDto> entity = new HttpEntity<>(request, headers);

        ResponseEntity<ChatGPTResponseDto> apiResponse =
                                restTemplate.exchange(endpoint, HttpMethod.POST, entity,
                ChatGPTResponseDto.class);

        if (apiResponse.getStatusCode() == HttpStatus.OK) {
            ChatGPTResponseDto chatResponseDto = apiResponse.getBody();
            if (Objects.nonNull(chatResponseDto) && Objects.nonNull(chatResponseDto.getChoices())) {
                return chatResponseDto.getChoices().get(0).getMessage().getContent();
            }
        }

        return "Failed to fetch chat response.";
    }
}
Step 3: Create Model(DTO) files
To Provide the ChatGPT API request and response we need to specify proper models to send and receive data in ChatGPT format. Create a folder with name models inside src/main/java/com/chatgpttest/ and then inside it create a Dto file with the names ChatGPTMessageDto.java, ChatGPTRequestDto.java, ChatGPTResponseChoice.java, and ChatGPTResponseDto.java.
File: src/main/java/com/chatgpttest/models/ChatGPTMessageDto.java
package com.chatgpttest.models;

import lombok.Getter;
import lombok.NoArgsConstructor;
import lombok.Setter;

@Getter
@Setter
@NoArgsConstructor
public class ChatGPTMessageDto {
    private String role;
    private String content;

    public ChatGPTMessageDto(String role, String content) {
        this.role = role;
        this.content = content;
    }
}
File: src/main/java/com/chatgpttest/models/ChatGPTRequestDto.java
package com.chatgpttest.models;

import java.util.List;

import lombok.Getter;
import lombok.Setter;

@Getter
@Setter
public class ChatGPTRequestDto {
    private List<ChatGPTMessageDto> messages;
    private String model;

    public ChatGPTRequestDto(List<ChatGPTMessageDto> messages, String model) {
        this.messages = messages;
        this.model = model;
    }
}
File: src/main/java/com/chatgpttest/models/ChatGPTResponseChoice.java
package com.chatgpttest.models;

import lombok.Getter;
import lombok.Setter;

@Getter
@Setter
public class ChatGPTResponseChoice {
    private ChatGPTMessageDto message;

}
File: src/main/java/com/chatgpttest/models/ChatGPTResponseDto.java
package com.chatgpttest.models;

import java.util.List;

import lombok.Getter;
import lombok.Setter;

@Getter
@Setter
public class ChatGPTResponseDto {
    private List<ChatGPTResponseChoice> choices;
}
Step 4: Add ChatGPT secret key to application.properties file
We have the secret key we obtained from the ChatGPT developer portal. Use that key in the application.properties file under the src/main/resources folder.
File: src/main/resources/application.properties
chatgpt.model=gpt-3.5-turbo
chatgpt.endpoint=https://api.openai.com/v1/chat/completions
chatgpt.apiKey=your-secret-key-from-chat-gpt-developer-portal
Test the ChatGPT application using the browser
To run the Springboot application open the command prompt on the root folder of the project and execute the below command. Also, you can run the application using your IDE play button.
Open the browser and open the below URL
http://localhost:8080/chat-with-chat-gpt?query=what are trending technologies in the IT industry
Output


