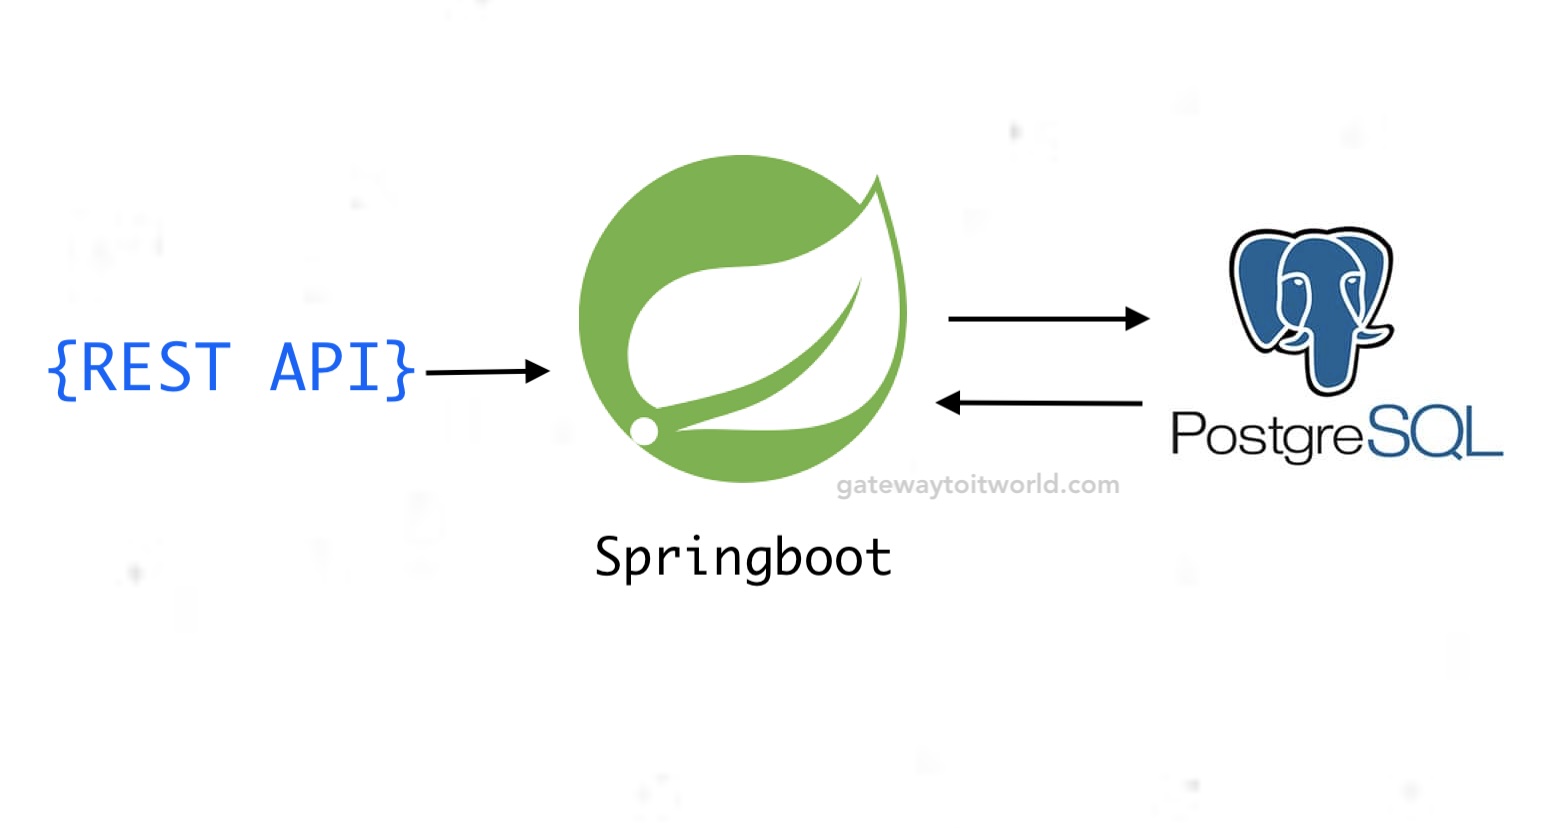
What is the REST API?
REST API is the application programming interface that uses REST(REpresentational State Transfer) architecture to exchange data between client and server. If you are new to Springboot app development please read what is Springboot here.
Create REST APIs In Springboot.
You can follow the below steps to create the REST API using the Springboot
Step 1. Setup the environment
Create a fresh Springboot project. You can download the project using the Springboot provided Spring initializer by visiting https://start.spring.io/. Also for detailed steps, you can read Steps to install the Springboot project locally.
You also need to set up any one database like h2, MySQL, PostgreSQL, SQL Server, etc. In this case, we are going to use PostgreSQL.
Step 2: Add dependencies required for the Springboot project.
Here we are going to add a few dependencies to run the Springboot project with database interactions.
Add the following dependencies in the pom.xml file of the project.
<?xml version="1.0" encoding="UTF-8"?>
<project xmlns="http://maven.apache.org/POM/4.0.0" xmlns:xsi="http://www.w3.org/2001/XMLSchema-instance"
    xsi:schemaLocation="http://maven.apache.org/POM/4.0.0 https://maven.apache.org/xsd/maven-4.0.0.xsd">
    <modelVersion>4.0.0</modelVersion>
    <parent>
        <groupId>org.springframework.boot</groupId>
        <artifactId>spring-boot-starter-parent</artifactId>
        <version>3.0.8</version>
        <relativePath/> <!-- lookup parent from repository -->
    </parent>
    <groupId>com.user</groupId>
    <artifactId>User-CRUD</artifactId>
    <version>0.0.1-SNAPSHOT</version>
    <name>User CRUD operations</name>
    <description>REST API for Spring Boot</description>
    <properties>
        <java.version>17</java.version>
    </properties>
    <dependencies>
        <!-- Springboot  -->
        <dependency>
            <groupId>org.springframework.boot</groupId>
            <artifactId>spring-boot-starter-data-jpa</artifactId>
        </dependency>
        <dependency>
            <groupId>org.springframework.boot</groupId>
            <artifactId>spring-boot-starter-web</artifactId>
        </dependency>
        <dependency>
            <groupId>org.springframework.boot</groupId>
            <artifactId>spring-boot-starter</artifactId>
        </dependency>

        <dependency>
            <groupId>org.springframework.boot</groupId>
            <artifactId>spring-boot-starter-test</artifactId>
            <scope>test</scope>
        </dependency>

        <!-- postgresql -->
        <dependency>
            <groupId>org.postgresql</groupId>
            <artifactId>postgresql</artifactId>
            <scope>runtime</scope>
        </dependency>
        <!-- lombok -->
        <dependency>
            <groupId>org.projectlombok</groupId>
            <artifactId>lombok</artifactId>
            <optional>true</optional>
        </dependency>
    </dependencies>
 <build>
    <plugins>
      <plugin>
        <groupId>org.springframework.boot</groupId>
        <artifactId>spring-boot-maven-plugin</artifactId>
        <configuration>
          <excludes>
            <exclude>
              <groupId>org.projectlombok</groupId>
              <artifactId>lombok</artifactId>
            </exclude>
          </excludes>
        </configuration>
      </plugin>
    </plugins>
  </build>

</project>
Step 3: Define the use case for REST APIs
To create the REST APIs we need the use case for which we are going to create REST API. In this tutorial, we are going to use the User management use case. We will create APIs to create, update, delete, and see the user details.
Step 4: Create a User entity
The user entity is the representation of the database table where we store the user details. Create a folder with the named entity under src/main/java/com/user/ and add a file User.java
File: src/main/java/com/user/entity/User.java
package com.user.entity;

import jakarta.persistence.Column;
import jakarta.persistence.Entity;
import jakarta.persistence.GeneratedValue;
import jakarta.persistence.Id;
import jakarta.persistence.Table;
import lombok.Getter;
import lombok.Setter;

@Getter
@Setter
@Entity
@Table(name = "users")
public class User {
    @Id
    @GeneratedValue
    private Long id;

    @Column(nullable = false)
    private String name;

    @Column(nullable = false, unique = true)
    private String email;

    @Column(nullable = false)
    private String password;
}
Please note: The “User” keyword is reserved for Postgres so you can use any other name for the “User” table otherwise it will throw an error ‘syntax error at or near “user”‘ when you run the application. In the above example, I have used the @Table annotation to give a different name to the User table.
Step 5: Set up the User repository
To manage User related operations create a user repository. Create a UserRepository interface that extends the JpaRepository provided by Spring Data JPA. We can also use custom queries using the @Query annotation to get custom results. Create a folder with the named repository under src/main/java/com/user/ and add a file UserRepository.java File: src/main/java/com/user/entity/UserRepository.java
package com.user.repository;

import org.springframework.data.jpa.repository.JpaRepository;

import com.user.entity.User;

public interface UserRepository extends JpaRepository<User, Long> {

}
Step 5: Create the Service layer
Service layer use is the best practice for developing applications. It helps write business logic for complex projects. As this is a simple REST application we only use the Service layer to call the JPA methods. Inject the UserRepository dependency into the service using the @Autowired annotation. Create a folder with the named service under src/main/java/com/user/ and add a file UserService.java File: src/main/java/com/user/entity/UserService.java
package com.user.service;

import org.springframework.beans.factory.annotation.Autowired;
import org.springframework.stereotype.Service;

import com.user.entity.User;
import com.user.repository.UserRepository;

import java.util.List;
import java.util.Objects;
import java.util.Optional;

@Service
public class UserService {

    @Autowired
    private UserRepository userRepository;

    public User createUser(User user) {
        return userRepository.save(user);
    }

    public List<User> getAllUsers() {
        return userRepository.findAll();
    }

    public User getUserById(Long id) {
        Optional<User> user = userRepository.findById(id);
        if (user.isPresent()) {
            return user.get();
        }
        return null;
    }

    public User updateUser(Long id, User updatedUser) {
        Optional<User> user = userRepository.findById(id);
        if (Objects.nonNull(user.isPresent())) {
            return userRepository.save(updatedUser);
        } else {
            return null;
        }
    }

    public void deleteUser(Long id) {
        userRepository.deleteById(id);
    }
}
Step 6: Create the User controller
The controller is the entry point for our REST endpoints. It uses @RestController annotation to indicate that it’s a REST controller. Inject the UserService dependency into the controller using the @Autowired annotation. Define API endpoints for managing users, such as creating a user, getting user details by id, updating a user, deleting a user, etc. Use appropriate HTTP methods like @PostMapping, @GetMapping, @PutMapping, and @DeleteMapping to map the endpoints to corresponding actions. Create a folder with the name controller under src/main/java/com/user/ and add a file UserController.java File: src/main/java/com/user/entity/UserController.java
package com.user.controller;
import org.springframework.beans.factory.annotation.Autowired;
import org.springframework.web.bind.annotation.*;

import com.user.entity.User;
import com.user.service.UserService;

import java.util.List;

@RestController
@RequestMapping("/api/users")
public class UserController {

    @Autowired
    private UserService userService;

    public UserController(UserService userService) {
        this.userService = userService;
    }

    @PostMapping
    public User createUser(@RequestBody User user) {
        return userService.createUser(user);
    }

    @GetMapping
    public List<User> getAllUsers() {
        return userService.getAllUsers();
    }

    @GetMapping("/{id}")
    public User getUserById(@PathVariable Long id) {
        return userService.getUserById(id);
    }

    @PutMapping("/{id}")
    public User updateUser(@PathVariable Long id, @RequestBody User updatedUser) {
        return userService.updateUser(id, updatedUser);
    }

    @DeleteMapping("/{id}")
    public void deleteUser(@PathVariable Long id) {
        userService.deleteUser(id);
    }
}
Step 7: Database configurations
Springboot takes care of database configurations internally you just have to pass the database credentials. You can update the application.properties file from src/main/resources as follows.
spring.datasource.url=jdbc:postgresql://localhost:5432/db_name_here
spring.datasource.username=db_user_name_here
spring.datasource.password=db_password_here
spring.datasource.driverClassName=org.postgresql.Driver

spring.jpa.database-platform = org.hibernate.dialect.PostgreSQLDialect
spring.jpa.generate-ddl=true
spring.jpa.hibernate.ddl-auto=update
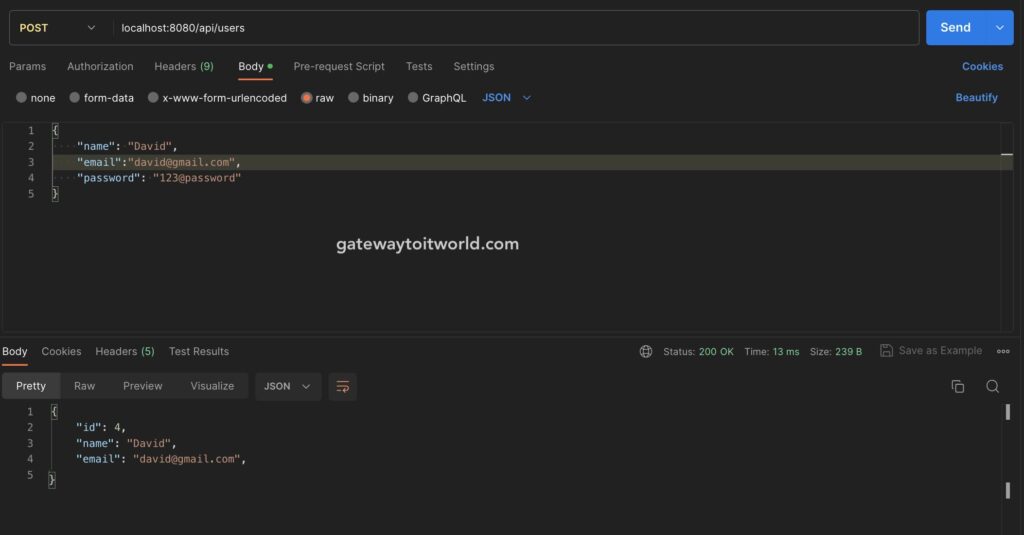
Step 8: Test APIs using Postman
Create user API

Get all Users API

