What is Springboot?
Springboot is one of the most popular frameworks of Java programming language. It is used to develop web applications using Java programming language. We can build the RESTful APIs using Springboot. It helps faster development and is widely used by web developers.
What are the features of Springboot?
- Stand-alone: We can create Independent Java web applications using Springboot
- Embedded: Sprinboot comes with the in-built server we don’t have to install or add any other dependency to run the server
- Starter dependencies: Springboot provides starter dependencies to simplify the build process
- Automatic configuration: We can add third-party libraries/dependencies as required
- Production-ready features: Provides features to monitor the health and other configurations used in the Springboot App
- No XML configuration: Springboot provides annotation-based support instead of XML configuration.
How to create a web Application using Springboot?
Below is the step-by-step guide for Springboot framework implementation.
Step 1: Prerequisites
You need to install Java JDK on your local machine to run the Springboot app. Read step 2 before installing the specific version of Java.
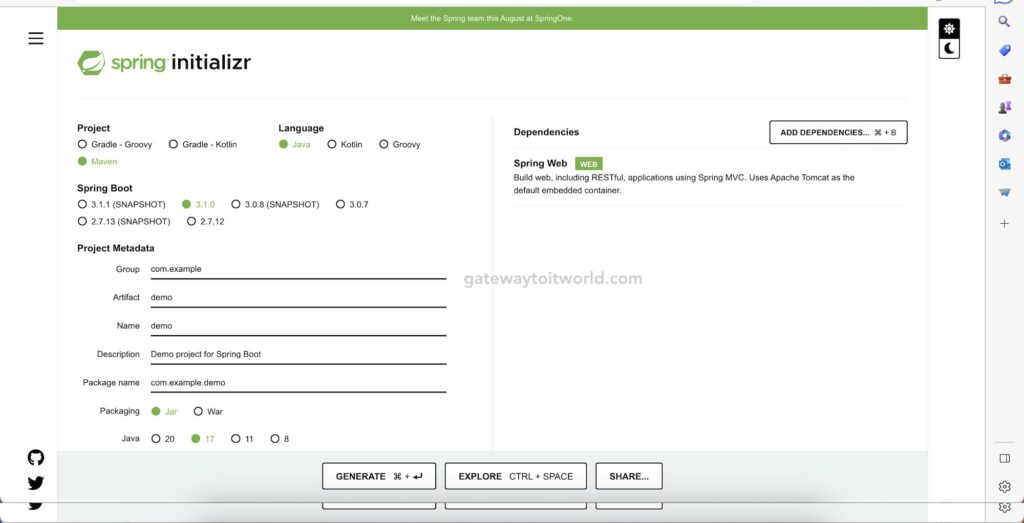
Step 2: Download the Springboot framework and Starter project
The Springboot starter project is a ready-made project with all the basic files required to run the Springboot application. You can download the file and start coding it as per your need. Visit Springs’s official site(https://start.spring.io/) to download the starter project.

Please note that Springboot 3.0 and higher versions require the Java 17 version to be installed on your local machine to run.
Step 3: Open the starter project in your favorite IDE
When you download the folder it is a zip file. Extract the zip file to get the Sprinngboot project folder.
Step 4: Understand the Folder structure of Srpingboot
The default folder structure will look like this. We can add our code i.e. new files and folders under the src/main/java/com/example/demo folder. The src/main/resources folder is used to add static files where we can keep the CSS, JS, HTML, images, and other important files that are required in the Springboot application.

Step 5: How to code for the Welcome message in the demo application
Go to src/main/java/com/example/demo/ and create a HelloController.java file as follows:
package com.example.demo;

import org.springframework.web.bind.annotation.RequestMapping;
import org.springframework.web.bind.annotation.RestController;

@RestController
public class HelloController {
    @RequestMapping("/")
    public String home() {
        return "Welcome to Demo Application";
    }
}
Step 6: How to run the Springboot project
You can use your IDE to run the project. If you want to run the project using the command line then you can use the following command.
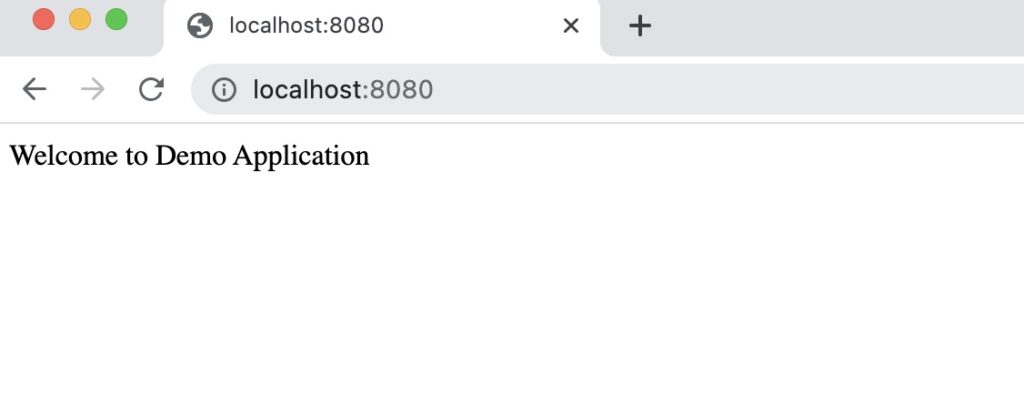
mvn spring-boot:runGo to Chrome or any browser. and open this URL http://localhost:8080/ .You will see below output:

If you want to explore more about Springboot and create REST APIs read here: How to create REST APIs using Springboot
